
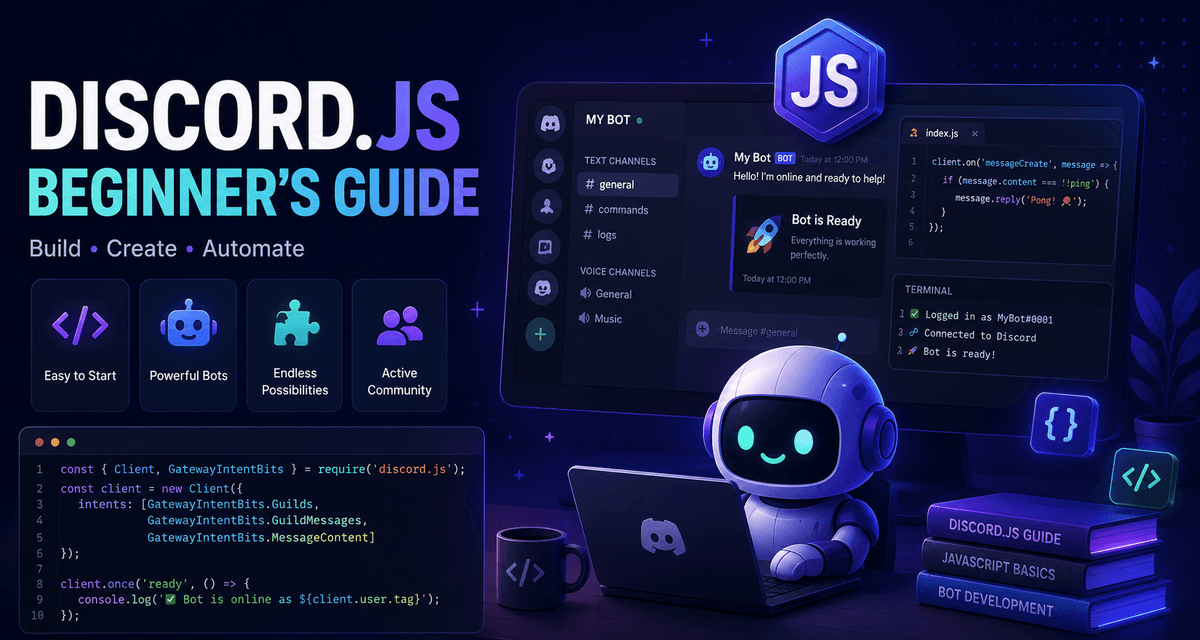
Discord.js Guide 2026: Build Your First Discord Bot
Learn how to build a Discord bot with discord.js v14 from scratch. Step-by-step setup, slash commands, embeds, and deployment — no prior bot experience needed.

So you want to build a Discord bot. Maybe you have a server that needs moderation automation, a fun economy system you have been dreaming up, or you just want to learn how the bots you use every day actually work under the hood.
Good news: getting started is easier than most people think. Bad news: the internet is full of outdated tutorials that will break the moment you try to run them.
This guide is different. Everything here is up to date for discord.js v14 (the current version as of mid-2026), uses modern JavaScript with ES modules, and covers slash commands — which is what Discord actually supports now, not the old prefix-based commands most outdated guides still teach.
By the end, you will have a working bot that responds to slash commands with embeds, and you will understand enough to start building whatever you want on top of it.
What Is Discord.js?
discord.js is the most popular Node.js library for interacting with the Discord API. It is open source, actively maintained, and used by millions of bots across the platform.
At version 14.26 (current as of May 2026), discord.js supports:
- 100% Discord API coverage — slash commands, buttons, select menus, modals, voice, threads, forums
- Full TypeScript support — types are built in, no extra packages needed
- ES modules by default — no more
require(), everything usesimport - Discord API v10 — the library ships against the latest API version
- Slash commands as the primary interface — message content commands require a privileged intent and are discouraged for new bots
If you are curious about other Discord bots and how they enrich servers, our best Discord bots guide covers moderation, music, economy, and more.
Prerequisites: What You Need Before Coding
You cannot just open a code editor and start typing. There are a few things to set up first. Do not skip this section — most “my bot won’t start” problems come from missing one of these steps.
1. Node.js (Version 18 or Newer)
discord.js v14 requires Node.js 18 or later. Check your version:
node -vIf it is lower than 18, download the latest LTS from nodejs.org. The current LTS as of 2026 is Node.js 22.
2. A Discord Application and Bot Token
Every bot needs a registered application on Discord’s developer portal.
- Go to the Discord Developer Portal
- Click New Application and give it a name
- Go to the Bot tab on the left sidebar
- Click Reset Token and copy the token (you only see it once — save it somewhere safe)
- Under Privileged Gateway Intents, enable the intents your bot needs. For most bots, enable Message Content Intent (if you need to read message text) and Server Members Intent (if you need member join/leave events)
Never commit your token to GitHub. Use environment variables or a .env file. Discord actively scans public repositories and will revoke exposed tokens.
3. A Code Editor
VS Code is the standard. Any editor works, but having one with JavaScript IntelliSense will make your life dramatically easier.
4. Basic JavaScript Knowledge
You do not need to be an expert, but you should be comfortable with:
- Variables, functions, and objects
- Async/await and Promises
- Arrays and array methods (
.map(),.filter(),.find()) - Basic Node.js concepts (imports, file system)
If you are new to JavaScript, JavaScript.info is an excellent free resource.
Step 1: Create Your Project
Open a terminal and run:
mkdir my-first-bot
cd my-first-bot
npm init -y
This creates a package.json file. Now install discord.js:
npm install discord.jsFor better performance, also install the optional native packages:
npm install zlib-sync bufferutilThese speed up WebSocket connections and data compression. Your bot will work without them, but it will be slower.
Switch to ES Modules
Open package.json and add:
"type": "module"This tells Node.js to treat .js files as ES modules, so you can use import syntax instead of require().
Step 2: Write Your First Bot (The Ping-Pong Bot)
Create a file called index.js in your project root. This is the simplest complete bot you can write:
import { Client, Events, GatewayIntentBits } from 'discord.js';

const client = new Client({
    intents: [
        GatewayIntentBits.Guilds,
        GatewayIntentBits.GuildMessages,
        GatewayIntentBits.MessageContent,
    ],
});

client.once(Events.ClientReady, (readyClient) => {
    console.log(`Logged in as ${readyClient.user.tag}`);
});

client.login('YOUR_BOT_TOKEN_HERE');
Replace YOUR_BOT_TOKEN_HERE with the token you copied from the developer portal. Run it:
node index.jsIf everything is set up correctly, you will see Logged in as YourBotName#1234 in the terminal and your bot will appear online in Discord.
What Each Part Does
| Code | Purpose |
|---|---|
Client |
The main bot instance — your connection to Discord |
GatewayIntentBits |
Tells Discord which events your bot wants to receive |
Guilds intent |
Required for basically everything — guilds, channels, roles |
GuildMessages intent |
Lets your bot see messages sent in guild channels |
MessageContent intent |
Privileged intent — lets your bot read the text content of messages |
Events.ClientReady |
Fires once when the bot finishes connecting |
client.login() |
Authenticates with Discord using your token |
A Note on Intents
Discord introduced intents to give bot developers control over which events they receive. This reduces unnecessary data transfer and respects user privacy. For a list of all intents and what they enable, check the Discord API documentation.
The three intents above cover most use cases for command-based bots. If you need member join events, add GatewayIntentBits.GuildMembers. If you need presence data (what game someone is playing), add GatewayIntentBits.GuildPresences. Both of those are privileged intents and must be enabled in the developer portal.
Step 3: Register Slash Commands
In 2026, slash commands are the standard. Prefix commands (!ping) still work if you enable the Message Content intent, but they are clunky, can conflict with other bots, and Discord is pushing developers toward slash commands for good reason: they are discoverable, have built-in validation, and show users exactly what a command does before they use it.
Registering slash commands is a two-step process: first you define them with Discord’s API, then you handle them in your code when a user invokes one.
Create a file called deploy-commands.js:
import { REST, Routes } from 'discord.js';

const commands = [
    {
        name: 'ping',
        description: 'Replies with Pong!',
    },
    {
        name: 'hello',
        description: 'Say hello to the bot',
    },
];

const rest = new REST({ version: '10' }).setToken('YOUR_BOT_TOKEN_HERE');

try {
    console.log('Registering slash commands...');

    await rest.put(
        Routes.applicationCommands('YOUR_CLIENT_ID_HERE'),
        { body: commands },
    );

    console.log('Slash commands registered!');
} catch (error) {
    console.error(error);
}
Run this once:
node deploy-commands.jsYour client ID is in the Discord Developer Portal under General Information → Application ID. It is a long number, not your bot token.
After running this, your commands will appear when users type
/in any server your bot is in. Changes take effect globally within a few minutes.
Step 4: Handle Slash Commands
Now update index.js to respond to the commands you just registered:
import { Client, Events, GatewayIntentBits } from 'discord.js';

const client = new Client({
    intents: [
        GatewayIntentBits.Guilds,
        GatewayIntentBits.GuildMessages,
        GatewayIntentBits.MessageContent,
    ],
});

client.once(Events.ClientReady, (readyClient) => {
    console.log(`Logged in as ${readyClient.user.tag}`);
});

client.on(Events.InteractionCreate, async (interaction) => {
    if (!interaction.isChatInputCommand()) return;

    const { commandName } = interaction;

    if (commandName === 'ping') {
        await interaction.reply('Pong! 🏓');
    } else if (commandName === 'hello') {
        await interaction.reply(
            `Hello, ${interaction.user.username}!`,
        );
    }
});

client.login('YOUR_BOT_TOKEN_HERE');
Stop your bot (Ctrl+C), restart it with node index.js, and type /ping in a server where your bot is present. You should get Pong! back.
The InteractionCreate Event
This event fires whenever someone uses a slash command, clicks a button, submits a modal, or selects from a dropdown. The line:
if (!interaction.isChatInputCommand()) return;filters out everything except slash commands. Without it, button clicks and other interactions would try to run through your command logic and throw errors.
Step 5: Add Command Options
Slash commands can accept user input through options. Let us add a /echo command that repeats whatever the user types:
Update deploy-commands.js and add this to the commands array:
{
    name: 'echo',
    description: 'Repeats your message back to you',
    options: [
        {
            name: 'message',
            description: 'The message to echo',
            type: 3, // STRING type
            required: true,
        },
    ],
},
Run node deploy-commands.js again. Then update your interaction handler:
if (commandName === 'echo') {
    const message = interaction.options.getString('message', true);
    await interaction.reply(message);
}
Now /echo hello world will reply with “hello world”.
Why use
type: 3instead of a string like'STRING'? discord.js v14 uses number-based enum values from theApplicationCommandOptionTypeenum. You can import them:import { ApplicationCommandOptionType } from 'discord.js';Then use
ApplicationCommandOptionType.Stringinstead of3. Either works, but the enum is more readable.
Step 6: Sending Embeds
Plain text replies are fine for simple commands, but embeds make your bot feel polished. Here is a /serverinfo command:
First, register it:
{
    name: 'serverinfo',
    description: 'Shows information about this server',
},
Then handle it:
import { EmbedBuilder } from 'discord.js';

// inside your interaction handler:
if (commandName === 'serverinfo') {
    const { guild } = interaction;

    const embed = new EmbedBuilder()
        .setTitle(guild.name)
        .setDescription(`Server information for **${guild.name}**`)
        .setColor(0x5865F2) // Discord blurple
        .setThumbnail(guild.iconURL())
        .addFields(
            {
                name: 'Owner',
                value: `<@${guild.ownerId}>`,
                inline: true,
            },
            {
                name: 'Members',
                value: `${guild.memberCount}`,
                inline: true,
            },
            {
                name: 'Created',
                value: `<t:${Math.floor(guild.createdTimestamp / 1000)}:D>`,
                inline: true,
            },
        )
        .setFooter({
            text: `Requested by ${interaction.user.tag}`,
            iconURL: interaction.user.displayAvatarURL(),
        })
        .setTimestamp();

    await interaction.reply({ embeds: [embed] });
}
Embeds support up to 25 fields, can include images, thumbnails, author info, and footers. They are the primary way to display structured information in Discord. If you want to learn what Discord features are worth investing time into (as a user, not a developer), our Discord Nitro features ranked guide breaks down every premium perk.
Step 7: Organizing Your Code
Your index.js is going to get messy fast if you keep adding commands inline. Here is a clean structure for bots with more than 5 commands:
my-first-bot/
├── index.js           # Bot entry point
├── deploy-commands.js # Command registration
├── commands/
│   ├── ping.js
│   ├── echo.js
│   └── serverinfo.js
├── events/
│   ├── ready.js
│   └── interactionCreate.js
├── .env               # Bot token (never commit this!)
└── package.json
Example command file (commands/ping.js):
import { SlashCommandBuilder } from 'discord.js';

export const data = new SlashCommandBuilder()
    .setName('ping')
    .setDescription('Replies with Pong!');

export async function execute(interaction) {
    await interaction.reply('Pong! 🏓');
}
Then in index.js, load commands dynamically:
import { readdirSync } from 'node:fs';
import { join, dirname } from 'node:path';
import { fileURLToPath } from 'node:url';

const __dirname = dirname(fileURLToPath(import.meta.url));
const commandsPath = join(__dirname, 'commands');
const commandFiles = readdirSync(commandsPath).filter(
    (file) => file.endsWith('.js'),
);

for (const file of commandFiles) {
    const { data, execute } = await import(`./commands/${file}`);
    client.commands.set(data.name, { data, execute });
}
This pattern — one file per command, loaded dynamically — is what most production bots use. It keeps each command isolated and easy to debug.
Step 8: Inviting Your Bot to a Server
Your bot is ready to join servers. Generate an invite link:
- Go to the Developer Portal → your application → OAuth2 → URL Generator
- Under Scopes, check
botandapplications.commands - Under Bot Permissions, select what your bot needs. For a basic bot, pick:
- Send Messages
- Embed Links
- Use Slash Commands
- Read Message History
- Copy the generated URL at the bottom and open it in your browser
- Select a server you own (or have Manage Server permission in) and authorize
Both bot and applications.commands scopes are required — the first lets your bot connect, the second lets it register slash commands.
Common Mistakes and How to Fix Them
Every beginner hits these. Here is what to check when things break.
Bot logs in but commands do not appear
- Did you run
deploy-commands.js? - Is your client ID correct in
Routes.applicationCommands()? - Did you invite the bot with the
applications.commandsscope?
“Missing Access” or “Interaction Failed”
- Your bot needs the Use Slash Commands permission in the server
- Check that the bot role is above other roles in the server settings
“DisallowedIntents” error
- Go to the Developer Portal → Bot → Privileged Gateway Intents
- Enable the intents your code is requesting
- Restart your bot
Commands reply with “This interaction failed”
- You are probably not replying fast enough. Discord requires a response within 3 seconds of receiving an interaction
- If your command does something slow (database query, API call), use
interaction.deferReply()first, theninteraction.editReply()when the data is ready:
await interaction.deferReply();
// ... slow operation ...
await interaction.editReply('Done!');
“Cannot use import outside a module”
- You forgot to add
"type": "module"topackage.json - Or you are using
.jsextension but Node expects.mjs— add the type field and.jswill work
Where to Go From Here
Your bot is running, responding to slash commands, and sending embeds. Here is what to learn next based on what you want to build:
Moderation Bot
Learn about permissions, the GuildMemberManager, and the ban/kick/mute APIs. Our best Discord moderation bots guide shows what professional moderation looks like — use those as inspiration for features.
Economy or Game Bot
Look into databases (SQLite with better-sqlite3 is great for beginners), random number generation, and the MessageCollector for interactive games.
Music Bot
You will need @discordjs/voice for audio streaming. Be warned — music bots are the hardest type of bot to build because voice connections are complex and YouTube/Spotify frequently change their APIs.
Dashboard Bot
If you want a web dashboard, learn Express.js or a frontend framework alongside discord.js. Use OAuth2 to let users log in with Discord and manage their server settings from a website.
Production-Ready Bot
For bots in 100+ servers, learn about sharding (ShardingManager), database connection pooling, and proper error handling with process-level crash recovery.
The Discord.js Community
You do not need to figure everything out alone. discord.js has one of the largest open-source communities on Discord:
- discord.js Official Server — Tens of thousands of developers, active help channels, and the maintainers themselves hang out here
- discord.js Guide — The official guide covering everything from setup to sharding
- discord.js Documentation — The full API reference
- GitHub Repository — Source code, issues, discussions
When asking for help, always include:
- Your discord.js version (
npm list discord.js) - Your Node.js version (
node -v) - The exact error message
- A minimal code snippet that reproduces the problem
- Your intents configuration
People are significantly more willing to help when you have done basic debugging first.
Why Bother Building a Bot?
A well-built Discord bot transforms a server. It automates repetitive moderation tasks, creates engagement through games and leveling systems, and gives your community something unique that no other server has.
If you already run a server, building even a simple custom bot — even if it is just /serverinfo and /rules — makes your community feel more professional than copy-pasting a generic multi-purpose bot.
And if you are learning to code, Discord bots are one of the best projects you can build. They are interactive, visual (people actually see and use what you make), and the feedback loop is immediate. You write code, run it, and seconds later a real user is interacting with your creation.
If you are interested in more Discord development and community building topics, check out how Discord server boosts work and how to grow your Discord server.
Now go build something.
Share this article
Related Articles
Best Discord Bots Every Discord Server Needs in 2026
The essential Discord bots for moderation, leveling, entertainment, and automation. Build a better server with these must-have bots in 2026.
Best Discord Moderation Bots 2026: Keep Your Server Safe
Compare the best Discord moderation bots in 2026. Sapphire vs Dyno vs Carl-bot - which auto-mod features protect your community? Free setup guides included.